As some of you may be already aware, I purchased this old truck back in 2012. I have never done anything quite like this before. I am not a car guy, never was, even though I have been around mechanical work all of my life. But, thanks to my brother in law David VanWinkle and his 50 Chevy play toy, I got bit by the bug. So, here I am a novice old truck builder, trying to disassemble, modify and rebuild an old AD truck to a semblance of something to be desired by onlookers. It's not like I don't have anything to do, I am always inundated with projects I have started but never finished. I like doing too many things, using different skills, different mediums and weird ideas. Not only do I overload myself with too many projects, I am also prone to over design or complicate the projects that I do trying to make each project stand out.
So, here I am again - not only taking on another long range project utilizing skillsets I have never done before; but I am also planning on putting the GMC body and truck bed onto a 1999 Chevy S-10 extended cab truck frame, modifying the front end to accept a modified 49 Ford grill, gravel shield and front bumper, frenching the headlights, shaving the truck body and dash, redoing the interior and still trying to keep it looking desirable.
No hill for a stepper (or an idiot), Nevertheless I will try to document some of my mistakes and work at discouraging any of you would be hot rodders from following in my footsteps. I hope you find this memorable as I struggle through and maybe you'll even get some chuckles along with the perplexed looks on your faces as you try to figure out why in the world I am doing what I'm doing, in the way I'm doing it. Hold on, it's gonna be a rough ride.

This is the original 1949 GMC 1/2 ton pickup truck that I purchased for $1500 from a local friend (ha !!!). Being the novice that I am, I didn't realize the little bit of body work that would be required, not to mention the multitudes of decisions involved. Since I was planning on modifying the truck substantially I did not foresee that the body repairs would be much of an issue (yeah right).

Along side the expanse of body work yet to be enjoyed, there were also going to be panels that would need to be replaced such as this cowling in front of the door. One thing that is of benefit is that since this same body style was utilized on both the GMC and Chevy trucks from 1947 to 1954, there are basically all of the panels available as reproductions (repops). All thats needed is money. But like I said previously, my intent is to keep the cost down by utilizing as much as I can from my donor truck (1997 S-10).

One thing that is readily evident is that this is a heavily used farm truck. It is just begging to be revived, and i am just the guy to do it!!! (yeah right)

The mice really loved living here, so I'm sure they won;t mind if I do a little remodeling. Unfortunately (for them) I'm not planning on letting them have a ride after I'm finished.

The original 235 cu in 6 cylinder engine served it's purpose. Evidently even more than just it's first life, as witnessed by the extra rocker arm assembly and valves found under the seat. I guess they were saved for the just in case situation that was sure to arrive someday. The plan is to reuse the V6 Vortex engine and the automatic transmission that is in the 97 S-10 donor truck. But, in the spirit of something old (49 gmc), something new (a lot of parts), something borrowed (knowledge and tools from previous friends), something blue (notice the original color). I'm gonna reuse the Oohgah horn from the old truck in the completed street mod. Maybe you noticed the allegory to marriage in the previous sentence. Once you start a project like this, not only will it seem like you are married to the truck, it is possible your wife may think you are married to the truck also (if you know what I mean).

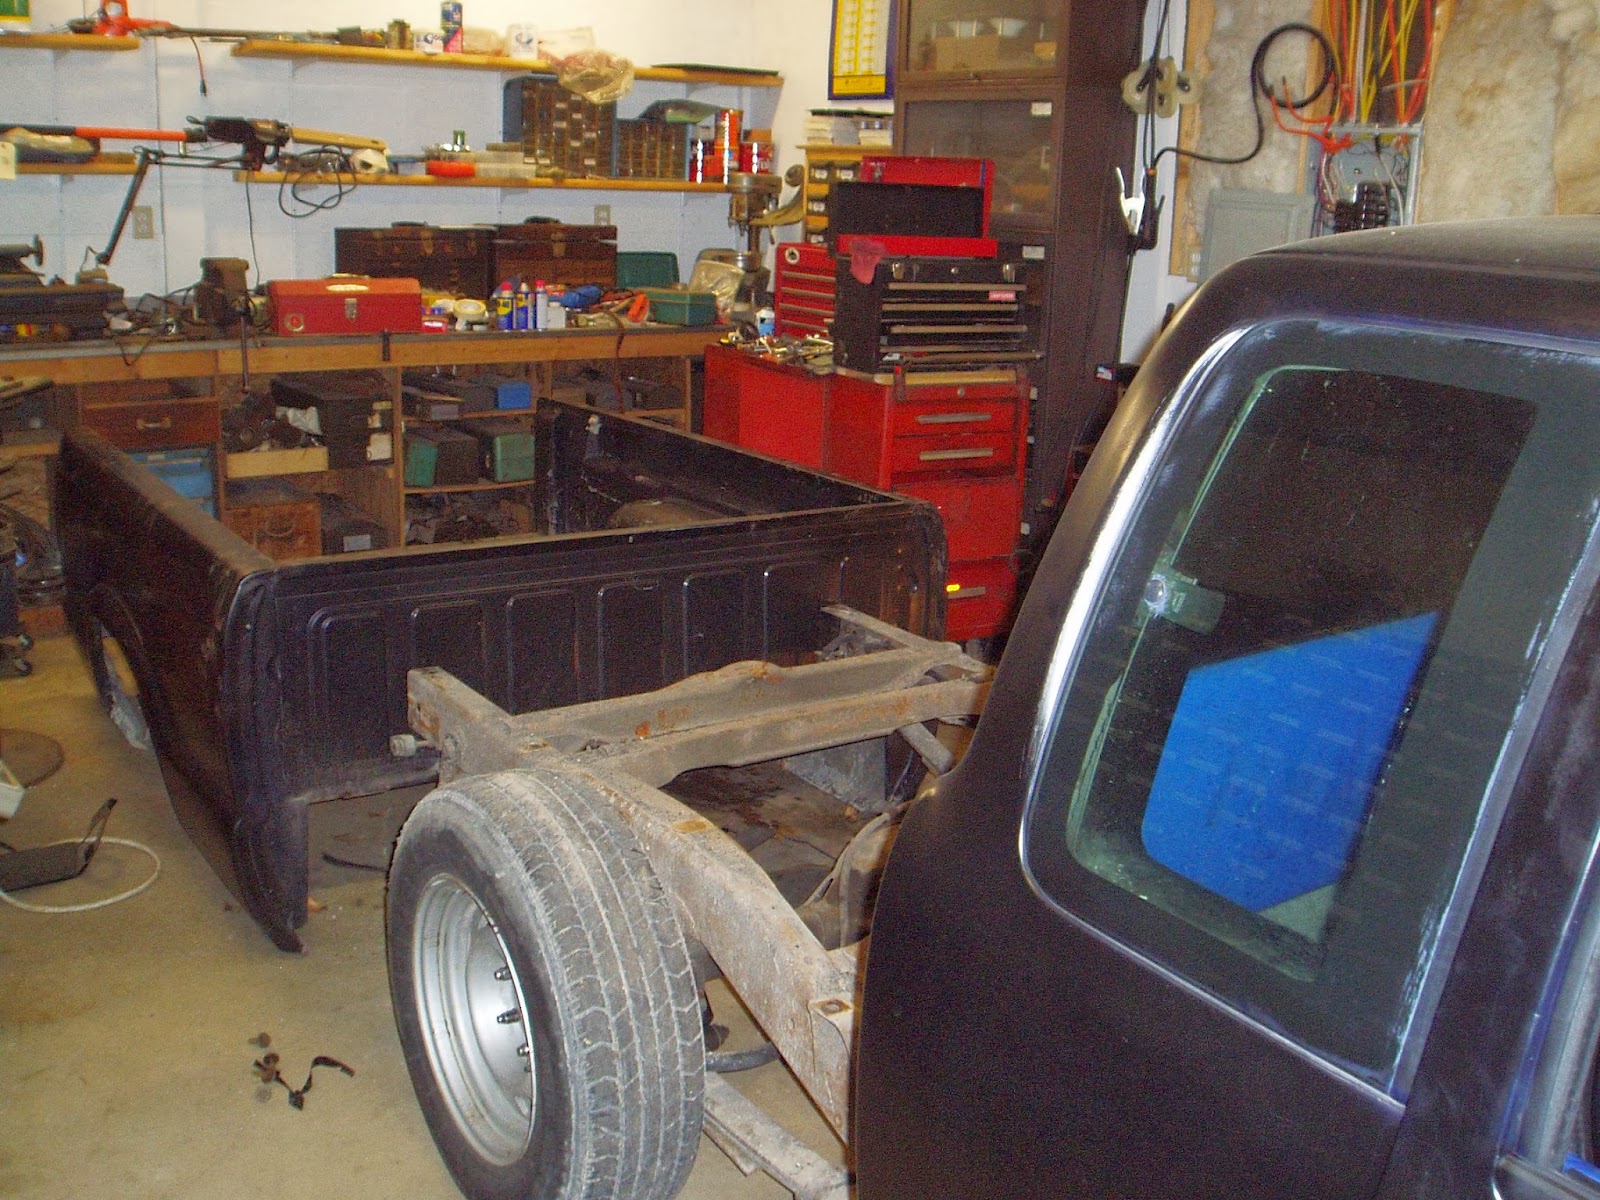
Well, it's about time that I get started with the work. This is the removal of the truck bed. Not a bad deal, a few bolts removed, or twisted off.

Either way, short work to unbolt and lift off.

Removal of the doors

Ditto

Stripped out the seat and gas tank. Plan is to move gas tank out of the cab and to redo the interior and reuse the donor truck seats.

Removal of the front fenders and hood. Prepping to remove the cab. That's Wayne Polk standing there with the perplexed look on his face. My friends usually look like that because of my hairbrained ideas that risk their life and limb. I also utilize the moniker "friends" pretty loosely, since they pretty much all screen their calls whenever I try calling them for "help". Wayne seems to have a high level of perseverance, he keeps coming back.

Success the cab is removed.

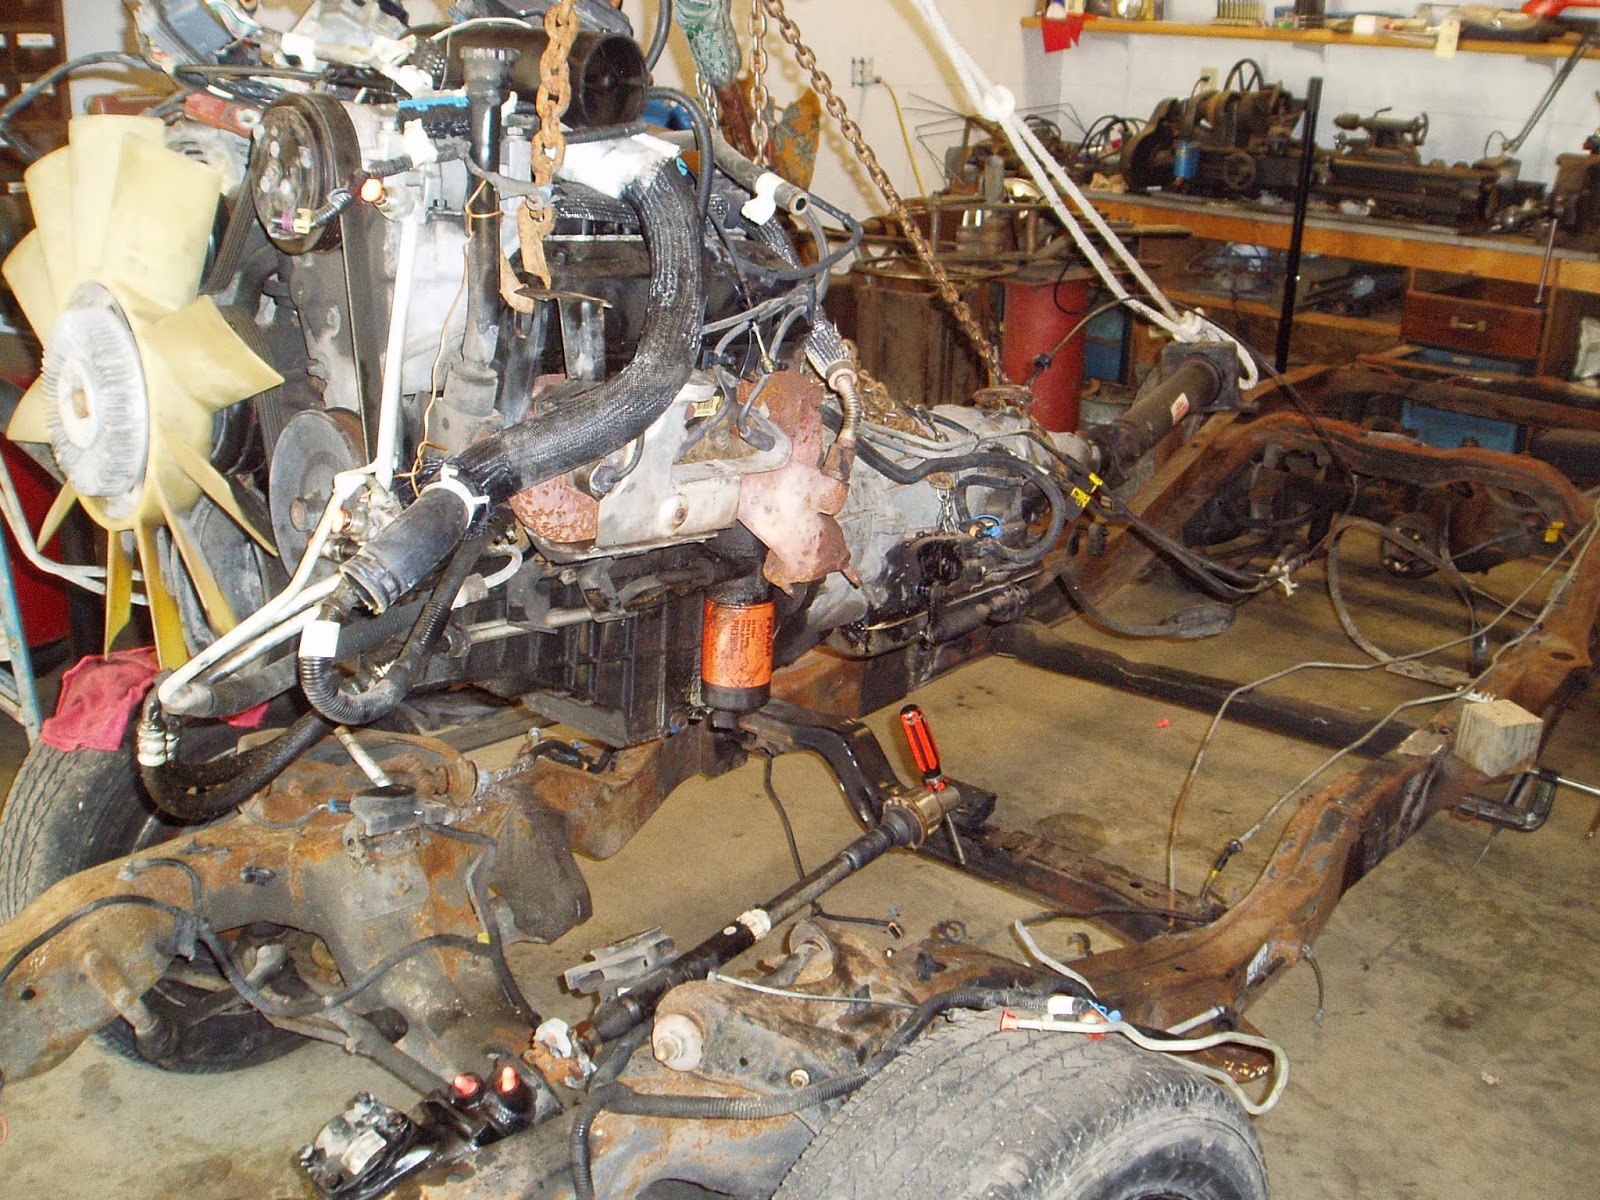
The rolling frame of the 49 GMC with engine. I took advantage of my neighbor, and partner in crime (he's a novice AD truck guy also) John Jones, and sold him my old engine for $100. I also was able to sell the rolling frame for $200. Notice the running board brackets on the frame. Since the GMC frame is a tapered frame and the S-10 frame is a rectangular frame, I elected to make the brackets for running boards to attach to the S-10 frame rather than remove and modify the GMC brackets to fit.

This is to be the donor truck for my truck project. It is a 1997 S-10 3 door extended cab with a V6 Vortex engine and automatic transmission with the shifter in the console on the floor. I was able to pick it up for $1000. Plan is to utilize everything I can on this truck to try to keep the cost down. That means a lot of retrofitting. Originally the main reason for going for the S-10 is that the frame is supposed to fit up good under the AD Body style truck. Using the standard long bed body design is the best way to go since the wheel base is almost the same on both trucks. I knew going in that I would have to shorten this frame about 6".

Original interior view of the S-10. maybe this is the something blue I was thinking of previously.
Removal of the bed from the S-10.

Disassembly of the interior. Tagged all of the wiring connections to allow rejoining of connectors, hopefully. Decided to remove the floor from the S-10 to install in the '49 GMC since its floor was rusted out badly. Once again trying to save money by not buying parts that I can make do with. Also felt that installing the S-10 floor also had the proper floor hump and seat mounts for the intended reuse of the transmission and the seats.


Removing the cab from the S-10.
Engine and Transmission removal. Plan is to reinstall into the modified GMC

The S-10 rolling frame

I have cut the box frame on a bias and removed 6" of the frame. I did notice that it looked like the frame was actually two halves that slide together, but I could not find the welds to cut loose and then just draw together, so I went on ahead and cut the frame. Notice the old body mount on the frame. I ended up cutting these off and repositioning them for the GMC cab and bed. I really like the way the rubber isolators work on these mounts, and I feel they will end up being a really good decision for mounting the GMC onto the S-10.

Installed a 3/8" x 4 1/2" x 18" flat plate inside box frame. Drilled 1 1/4" holes to pocket weld plate to frame on both halves. Then welded the frame cut diagonal seams. After this was completed, I added 3/8" plate on the inside of the box frames and welded in solid.
.jpg)
Mocked up the cab onto the frame, then placed new mounts for the running boards. This is the view of welding the brackets onto the frame. They fit directly to the bottom of the frame except the one bracket on each side was fill welded a little.

Decided to change out the original door latch assys to the Bearclaw design. This is the post area with the original latch removed.

Fabricated a bracket and installed new Bearclaw post bolt to the rear post of the cab.

Original door latch assy removed and new Bearclaw assy welded into door. Works like a champ.
Welded up the door handle holes in the doors and the activating latch lever will be attached to electronic door latch solenoids.

My plan is to install twin leather power bucket seats from a 2005 Buick Rendezvous that I got for free because they had been in the truck when it had caught fire. Cleaned up nice and electrically they work real good.

Had to cut 2" out of the floor panel on both sides and replated because the seats set up too high. Now they fit correctly.

Front view of the seats installed temporarily. One seat is all the way up and the other is all the way down.

I have cut the welds that hold the dash in and it has been removed completely. I have also removed all the gauges, radio, and glove box, then added panels and smoothed the dash.

The intent is to add this frame into the dash for a new set of digital gauges that I have bought from Intelitronix. It is one panel that includes six digital gauges and the turning indicators and high beam light. This is my way of addressing the problem of going from 6 volt to 12 volt system with electronic speedometer versus the cable drive.

The six gauge panel only takes up 3/4" behind the metal frame that will be inset into the dash.
I have also fabricated and installed a metal strip that is welded into the ledge for the top of the dash that is 2" wide across the length of the dash. This allows me the flexibility to install and remove the dash at my leisure as I fit and make changes for the HVAC system, wipers. wiring etc. that will be mounted under the dash.

I marked the front of the front fenders at 14" above the floor, then removed the fenders and bent a flange at this elevation for the attachment of the front gravel guard from the '49 Ford Custom. While I had the fenders off, I went ahead and replaced the rear sections of the front fenders with the new body sections.

Another view of the fender work. As you notice all the other junk in the way, just remember, "po folks have po ways."

Once the fenders were reinstalled, I fit up the '49 Ford gravel guard and front grill pieces. I had pieced the grill together after removing the round bullet from the grill and am planning on fitting up the second horizontal grill once I get more mocked up.

This will require cutting a section from the front fenders and moving them forward 1 1/2" to allow alignment of the grill to fenders and hood.

Weld repairs to the patches on the fenders after moving forward 1 1/2".

The hood is not on the same plane as the fenders like it would be on a chevy truck body, so I am taking the GMC grill and cutting the center section out and then welding it onto the hood and changing the hood shape to fit the 49 Ford Custom grill design.

Mock up of the section added to the hood.

Some of the welding being done on the hood to allow the reshaping of the hood to align with the front grill.

Nothing to this stuff (yeah right!!!) . Because of the desire to install the '49 Ford Custom grill onto the front of the '49 GMC, there has been the need for a few "little" changes.

These also included moving down the hood latch assy, which meant fabrication a whole new front cowl to cover the front of the radiator and hold the front body clip together
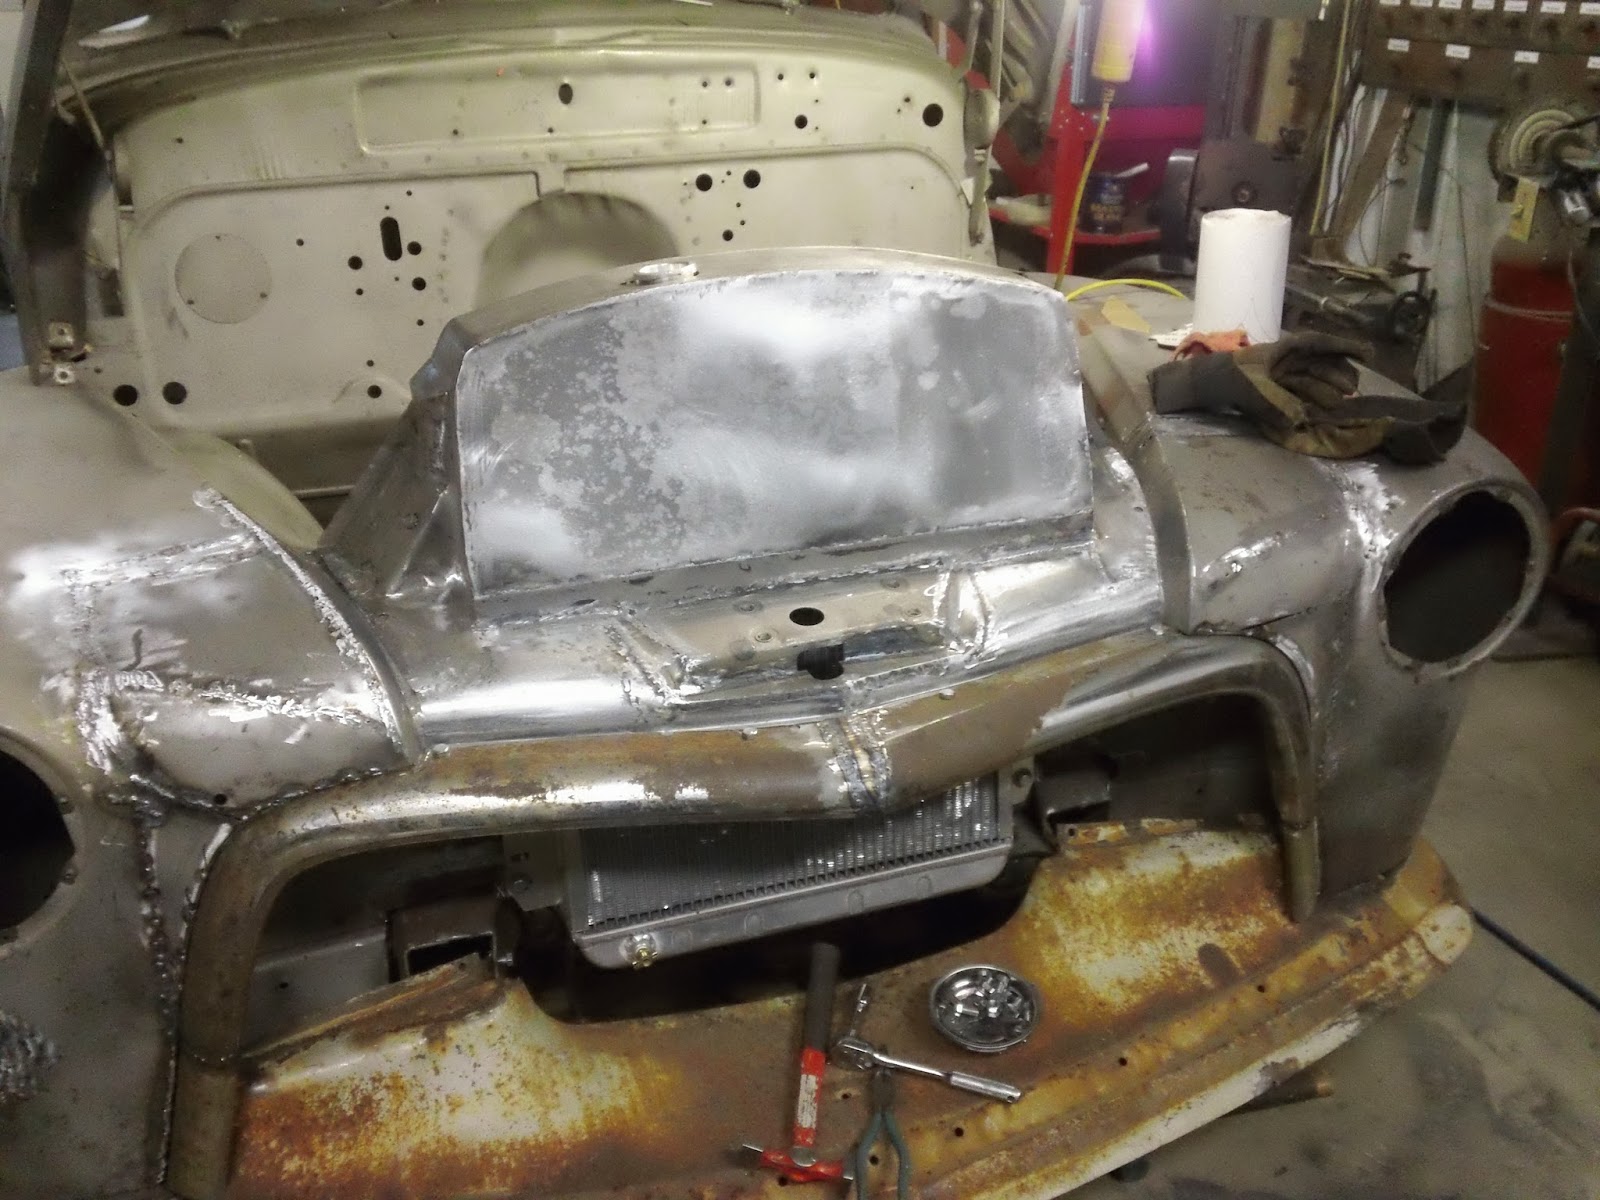
It seems to fit pretty good, will see after primer how it really looks

Just another little incidental was remaking the upper latch bracket assy that secures the front end of the hood underneath.

Starting to fit up the 2nd horizontal bar on the grill
www.facebook.com